
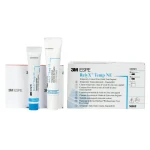
3m Espe Relyx Temp Non Eugenol
Original price was: ₹3,140.00.₹2,150.00Current price is: ₹2,150.00.
3M Espe Filtek Z250 Xt Restorative Syringe
Original price was: ₹2,010.00.₹1,300.00Current price is: ₹1,300.00.
-43%


Fast Shipping
Carrier information
24/7 Support
Unlimited help desk
2-day Delivery
Track or off orders
In stock
Original price was: ₹700.00.₹600.00Current price is: ₹600.00.
In stock
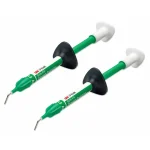
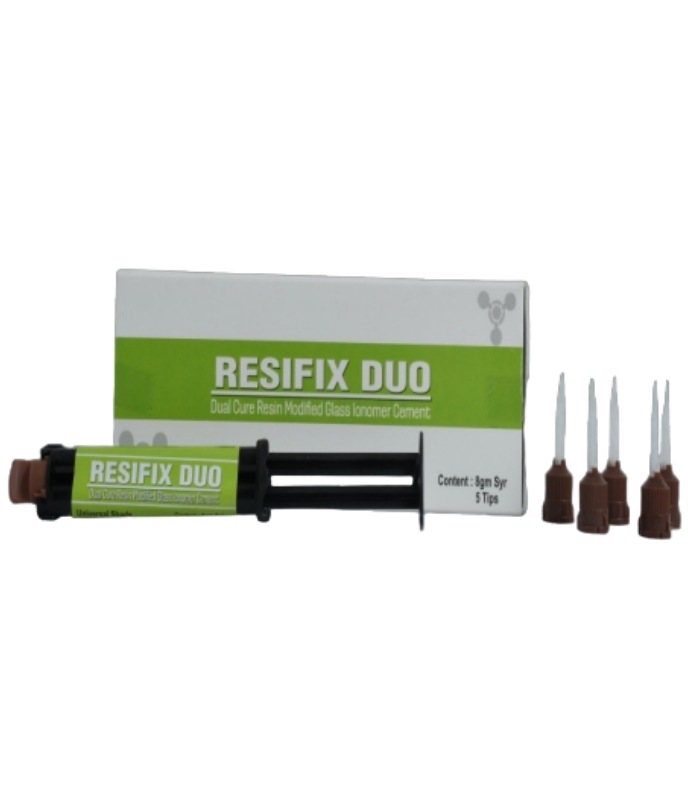
Original price was: ₹2,500.00.₹1,750.00Current price is: ₹1,750.00.8 gm Syringe
In stock
Original price was: ₹2,100.00.₹1,400.00Current price is: ₹1,400.00.
In stock
Original price was: ₹1,600.00.₹1,575.00Current price is: ₹1,575.00.
In stock
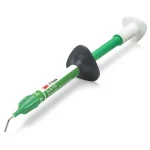
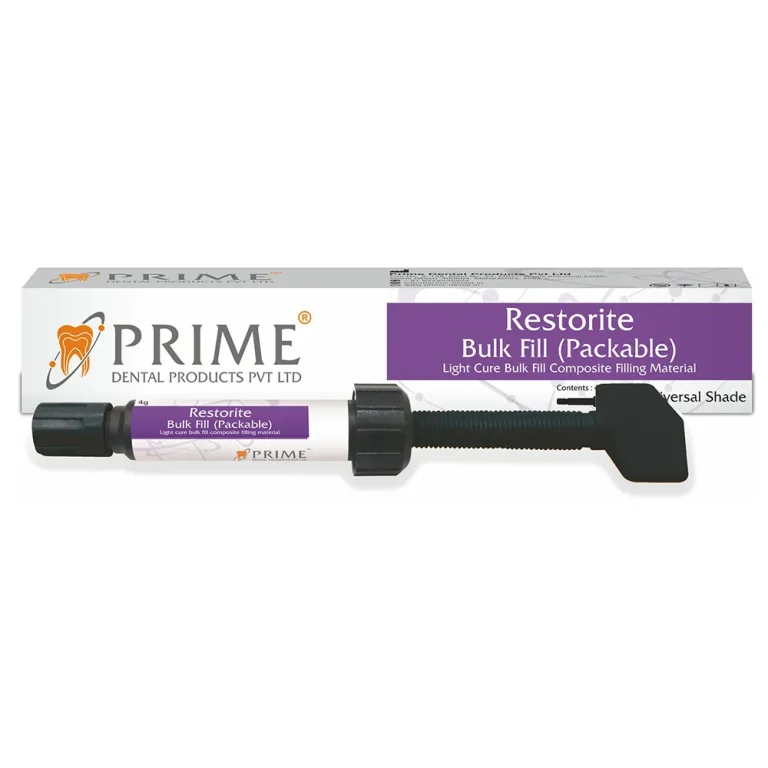
Original price was: ₹900.00.₹550.00Current price is: ₹550.00.4 gm Syringe
In stock
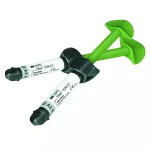
Original price was: ₹3,300.00.₹2,050.00Current price is: ₹2,050.00.6 gm Automix Syringe

Reviews
Clear filtersThere are no reviews yet.