


ICPA Thermoseal Proxa Interdental Brush
Original price was: ₹168.00.₹135.00Current price is: ₹135.00.
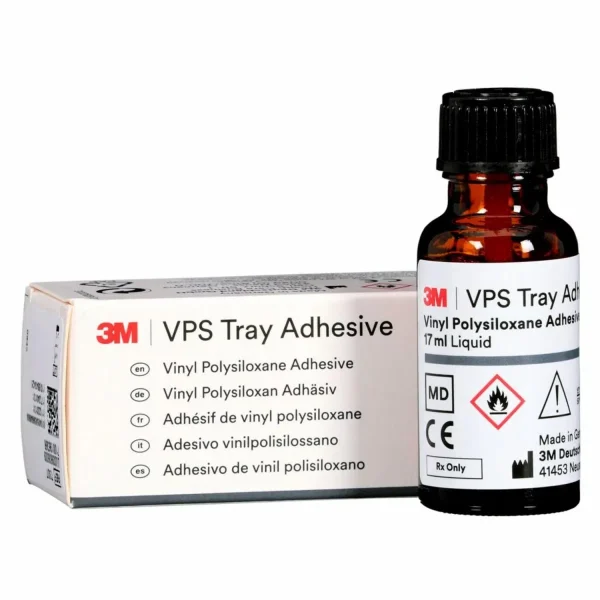
3m Espe Vps Tray Adhesive
Original price was: ₹2,130.00.₹1,550.00Current price is: ₹1,550.00.
-33%


Fast Shipping
Carrier information
24/7 Support
Unlimited help desk
2-day Delivery
Track or off orders

In stock
Original price was: ₹1,300.00.₹920.00Current price is: ₹920.00.1 x 24g Base Paste/ Catalyst Paste, 1 x Mixing Pad

In stock
Original price was: ₹570.00.₹450.00Current price is: ₹450.00.

In stock
Original price was: ₹252.00.₹175.00Current price is: ₹175.00.powder - liquid kit


In stock
Original price was: ₹1,200.00.₹850.00Current price is: ₹850.00.

In stock
Original price was: ₹893.00.₹500.00Current price is: ₹500.00.2 x Syringe 2g , 10 x Applicator Tips